
Are you ready to level up your nail game with electric files? Say goodbye to smudged polish and uneven shapes, because today we’re diving into the world of nail drills! Whether you’re a beginner or an aspiring nail artist, these must-know tips will help you unleash your inner pro and achieve flawless manicures in the comfort of your own home. So, grab your nail drill, put on your favourite tunes, and let’s get started with electric files!
Mastering Speed and Technique
Now that you have the right drill bits, let’s talk about speed and technique. Remember, practice makes perfect!
-
- Start Slow: If you’re new to using a nail drill, begin with the lowest speed setting. As you gain confidence and control, gradually increase the speed to find your sweet spot.
- Light Pressure is Key: Don’t go overboard with pressure; a light touch is all you need. Allow the drill to gently glide over your nails, shaping and smoothing them effortlessly. Too much pressure can lead to heat build-up or damage.
- Keep It Cool: To prevent overheating, periodically dip your nails into a bowl of room temperature water during the drilling process. This simple trick will keep your nails cool and comfortable, ensuring a pleasant experience.
Choosing the Right Drill Bits for the Job
When it comes to nail drills, having the right drill bits is crucial for achieving professional results. Here are a few key types you should have in your arsenal:
Using a nail drill doesn’t mean sacrificing nail health. Here are a few tips to keep your nails in top shape:
-
- Clean After Every Use: After each session, clean your drill bits and remove any debris or residue. Use a soft brush or a cotton swab dipped in rubbing alcohol to sanitize the attachments. This helps prevent the build up of bacteria and ensures hygienic use.
- Store Properly: Keep your nail drill and accessories in a clean and dry storage case to protect them from dust and damage. Avoid exposing the drill to extreme temperatures or moisture, as it can affect its performance.
- Use Protective Gear: When operating the nail drill, consider wearing safety glasses and a dust mask to protect your eyes and respiratory system from any flying debris or fine dust particles. Safety first!
- Get ready to revolutionize your nail routine and unleash your inner nail artist with confidence and style!
-
- Hydrate, Hydrate, Hydrate: Before and after using the drill, moisturize your nails and cuticles with a nourishing oil or cream. This helps replenish moisture and keeps your nails looking healthy and vibrant.
- Take Breaks: Give your nails a breather between drilling sessions. Overdoing it can lead to thinning or weakening of the nails. Take regular breaks and focus on nail care routines that don’t involve drilling.
- Embrace Gentle Buffing: Instead of aggressive filing, use a soft buffer attachment to gently smooth the surface of your nails. This helps to remove ridges and create a perfect canvas for your polish or nail art.
Prepping and Cleaning
-
- Start with a Clean Canvas: Begin by removing any existing nail polish and thoroughly clean your nails with a gentle nail polish remover. This helps remove oils and residue, ensuring better adhesion for your new nail design.
- Shape and Trim: Use a high-quality nail drill to shape your nails to your desired length and shape. Remember, gentle strokes in one direction help prevent nail damage and promote healthy nail growth.
- Cuticle Care: Gently push back your cuticles using a cuticle pusher or an orange stick. Avoid cutting your cuticles, as it can lead to infections. Instead, apply cuticle oil and massage it into your nail beds for added hydration.
Perfecting the Base
-
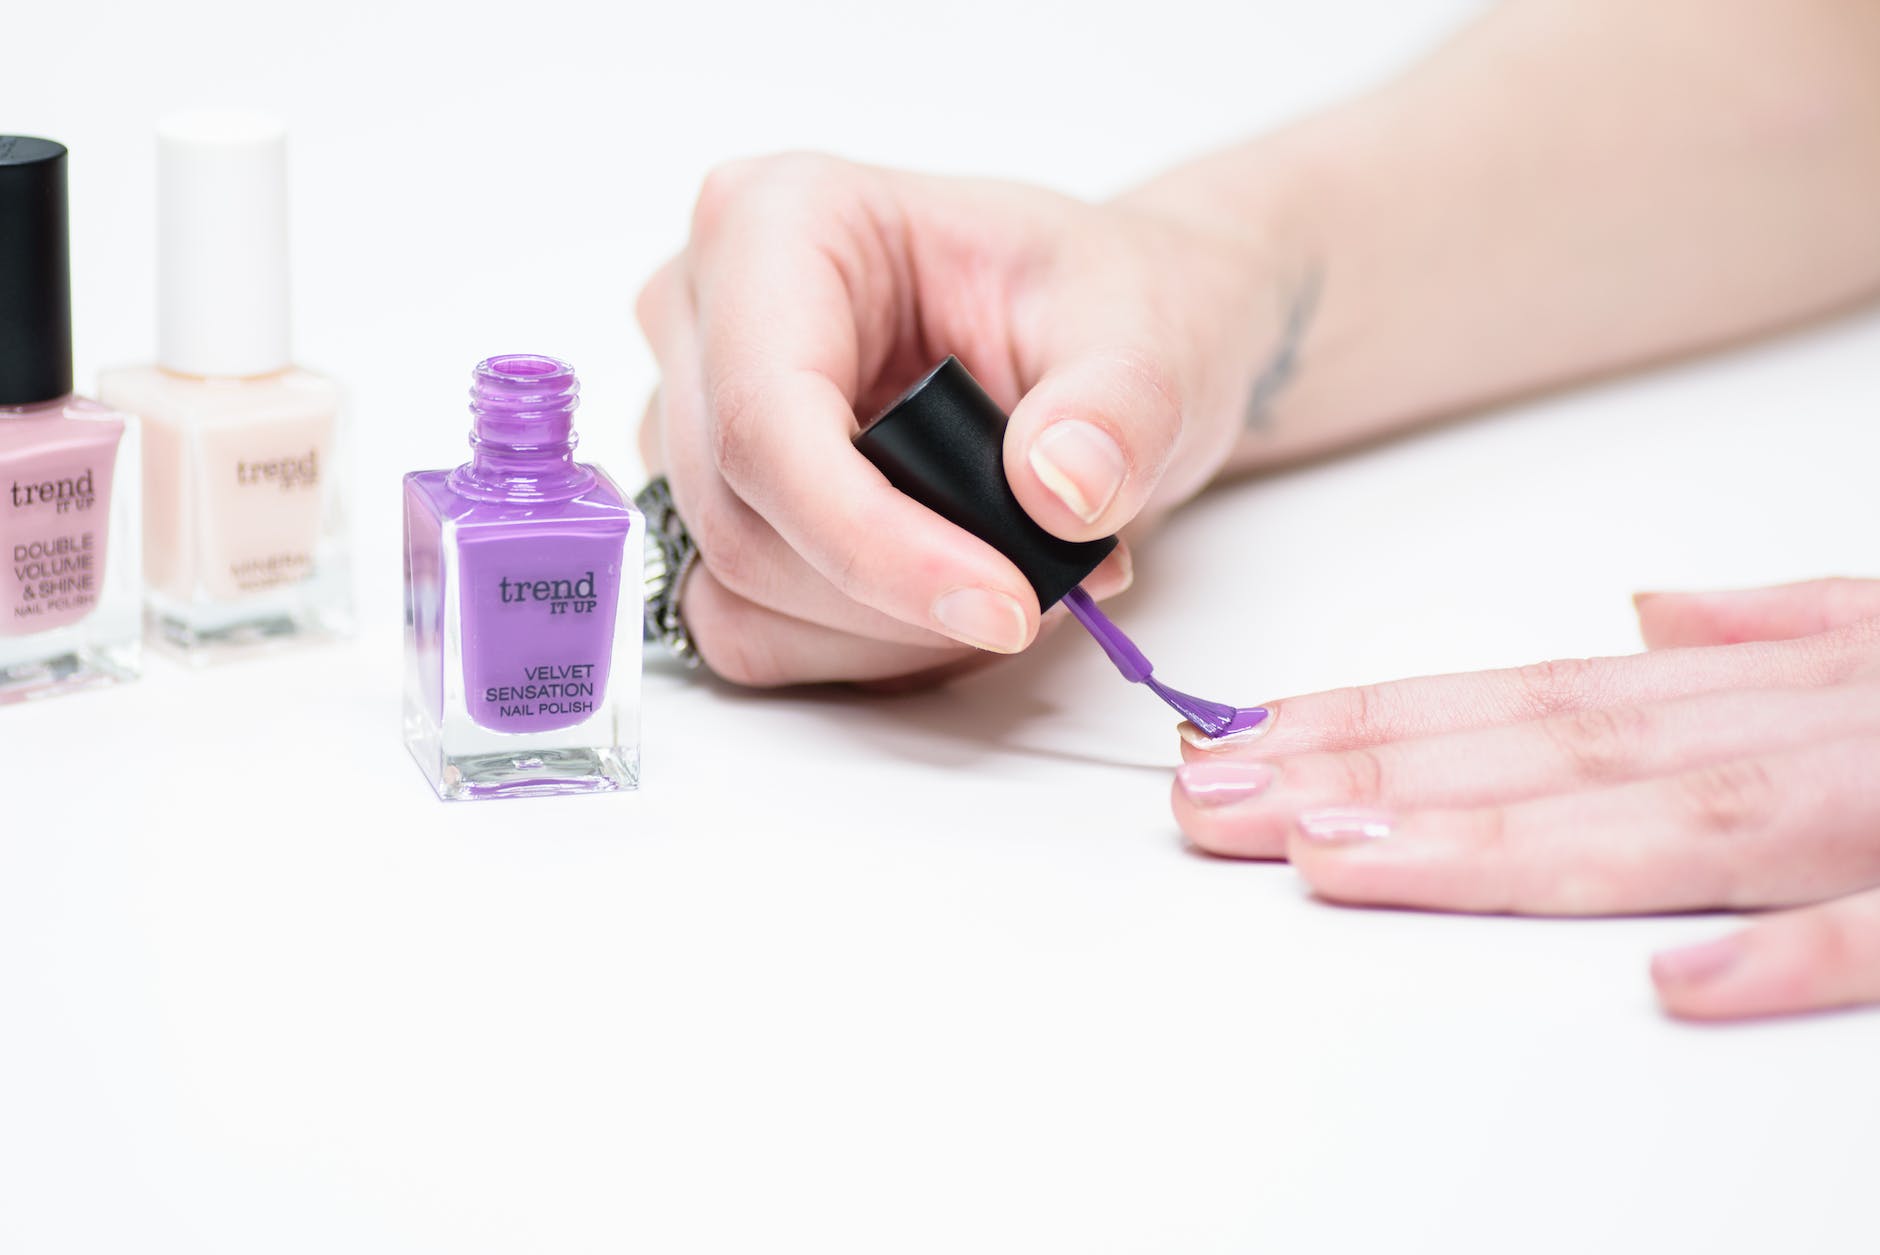
- Apply a Base Coat: Before diving into your desired nail colour, apply a thin layer of base coat. This creates a smooth surface, prevents staining, and helps your nail polish last longer. Allow it to dry completely.
- Select Your Nail Polish: Choose high-quality nail polish in your favourite shade. Apply thin coats to avoid streaks and achieve a smooth, even finish. Allow each coat to dry before applying the next one.
- Master the Technique: To achieve salon-quality results, follow the three-stroke technique. Start with a stroke down the centre of the nail, followed by strokes on either side. This ensures even distribution of the polish and minimizes smudges.
Finishing Touches and Long-Lasting Results
-
- Seal the Deal with a Top Coat: Once your nail polish is dry, apply a layer of top coat. This not only adds shine but also protects your manicure, preventing chipping and extending its longevity. Don’t forget to cap the tips of your nails for added durability.
- Speed Up Drying Time: If you’re short on time, try quick-drying drops or sprays to speed up the drying process. These magical products will save you from accidental smudges and give you a salon-worthy finish in no time.
- Moisturize and Maintain: After your manicure is complete, apply cuticle oil or a nourishing hand cream to moisturize your nails and cuticles. This helps maintain nail health and keeps your hands looking youthful and hydrated.
Shaping and Filing
-
- The Gentle Curve Technique: Use a fine-grit sanding band attachment and gently shape your nails into a graceful curve. Start at one side and file towards the centre, maintaining an even pressure for a natural-looking shape.
- The Square Edge Technique: If you prefer a square nail shape, use a straight-edge bit attachment and file the edges of your nails in a straight motion. This technique creates clean, defined lines for a chic and modern look.
- The Coffin Shape Technique: Achieve trendy coffin-shaped nails by using a tapered cone bit attachment. Start at the sides and file diagonally towards the centre, gradually tapering the shape. This technique adds a touch of glamour to your nails.
Removing Gel Polish and Calluses
-
- The Gel Polish Removal Technique: To remove gel polish effectively, use a cylindrical bit attachment with a gentle touch. Start at the cuticle area and work your way towards the free edge, applying light pressure. Be patient and let the drill do the work, avoiding excessive filing to prevent damage.
- The Callus Removal Technique: Say goodbye to rough and dry feet with the callus removal technique. Attach a callus removal bit and gently glide it over the hardened skin, removing dead cells and revealing smoother, softer feet. Remember to moisturize after the process for a truly pampered feel.
- The Cuticle Care Technique: Use a tapered flame bit attachment to gently buff away excess cuticles and keep your nail beds looking clean and tidy. Be cautious and avoid applying too much pressure to prevent any discomfort or damage.
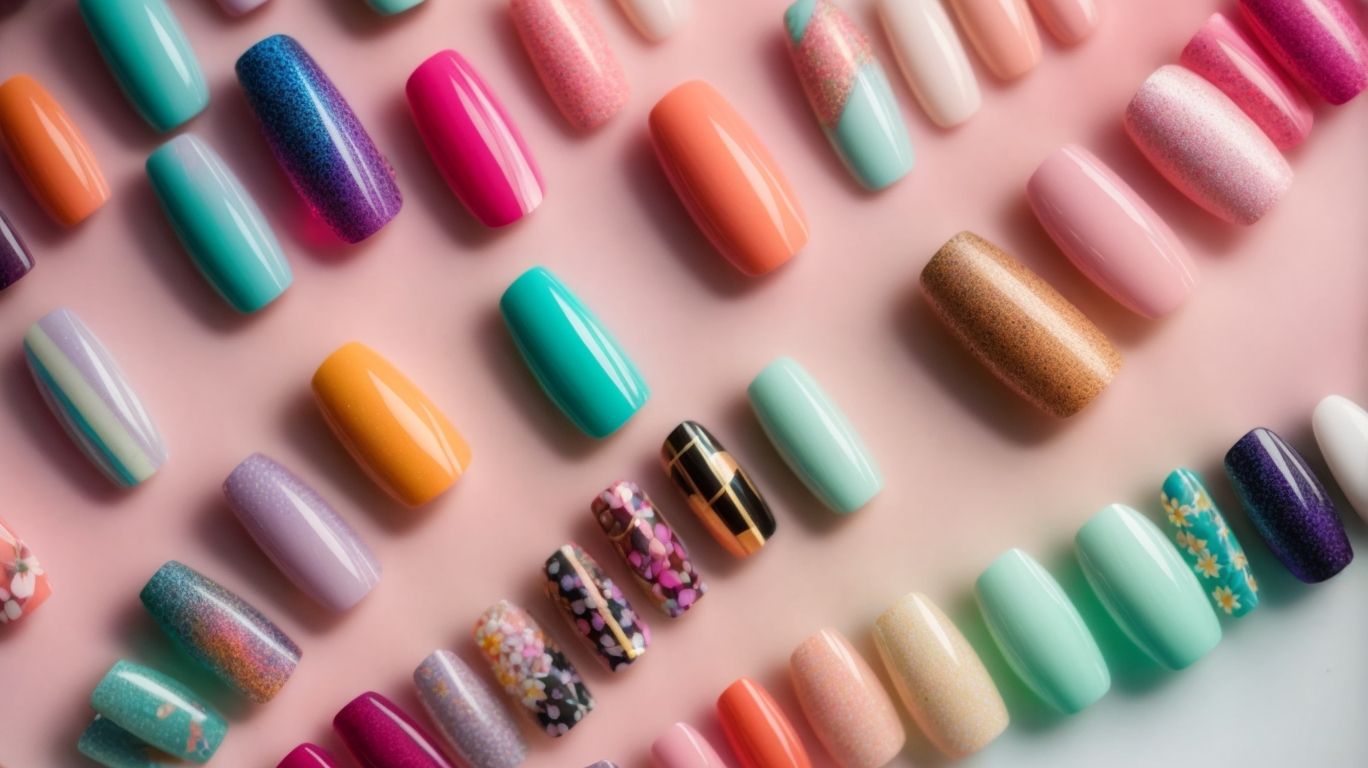
Nail Art and Creative Designs
-
- The Nail Engraving Technique: Take your nail art to new heights by using a fine-grit diamond bit attachment to engrave intricate designs on your nails. From delicate patterns to personalized initials, let your creativity shine and turn your nails into miniature works of art.
- The 3D Nail Embellishment Technique: Elevate your nail game with 3D embellishments. Use a carbide cone bit attachment to create small grooves or pockets in your nails, perfect for securing gems, beads, or other decorative elements. The result? Eye-catching nails that are sure to make a statement.
- The Ombre Nail Technique: Achieve the trendy ombre effect on your nails using a soft buffer bit attachment. Apply two or more complementary nail polishes onto the buffer bit and gently blend them on your nails in a back-and-forth motion. The result is a seamless gradient of colours that will have everyone asking, “Where did you get your nails done?”
The Perfect Canvas: Nail Prep
You-Proof Your Nails: Before diving into the world of DIY nails, it’s important to prepare your nails properly. Start by removing any old polish and gently shape your nails with a electric file. Buff the surface to create a smooth canvas for your new manicure. Remember, the key to flawless results is a clean and well-prepped nail bed. Cuticle Care: Next, give some love to your cuticles. Soften them with cuticle oil or soak your hands in warm water to make them more pliable. Gently push back the cuticles using a cuticle pusher, and if needed, carefully trim any excess skin. Taking care of your cuticles ensures a neat and polished look for your DIY nails.
Mastering the Technique: Nail Drill Tips
Speed Control: One of the secrets to flawless DIY nails is mastering the speed control of your nail drill. Start at a lower speed to get comfortable with the tool and gradually increase it as you gain confidence. Remember, slow and steady wins the race when it comes to achieving precision and control. Practice Makes Perfect: Don’t expect to become a nail drill pro overnight. Practice different techniques on spare nails or nail tips to refine your skills. Experiment with various attachments and drill bits to find what works best for you. With time and practice, you’ll be able to achieve salon-like results effortlessly.
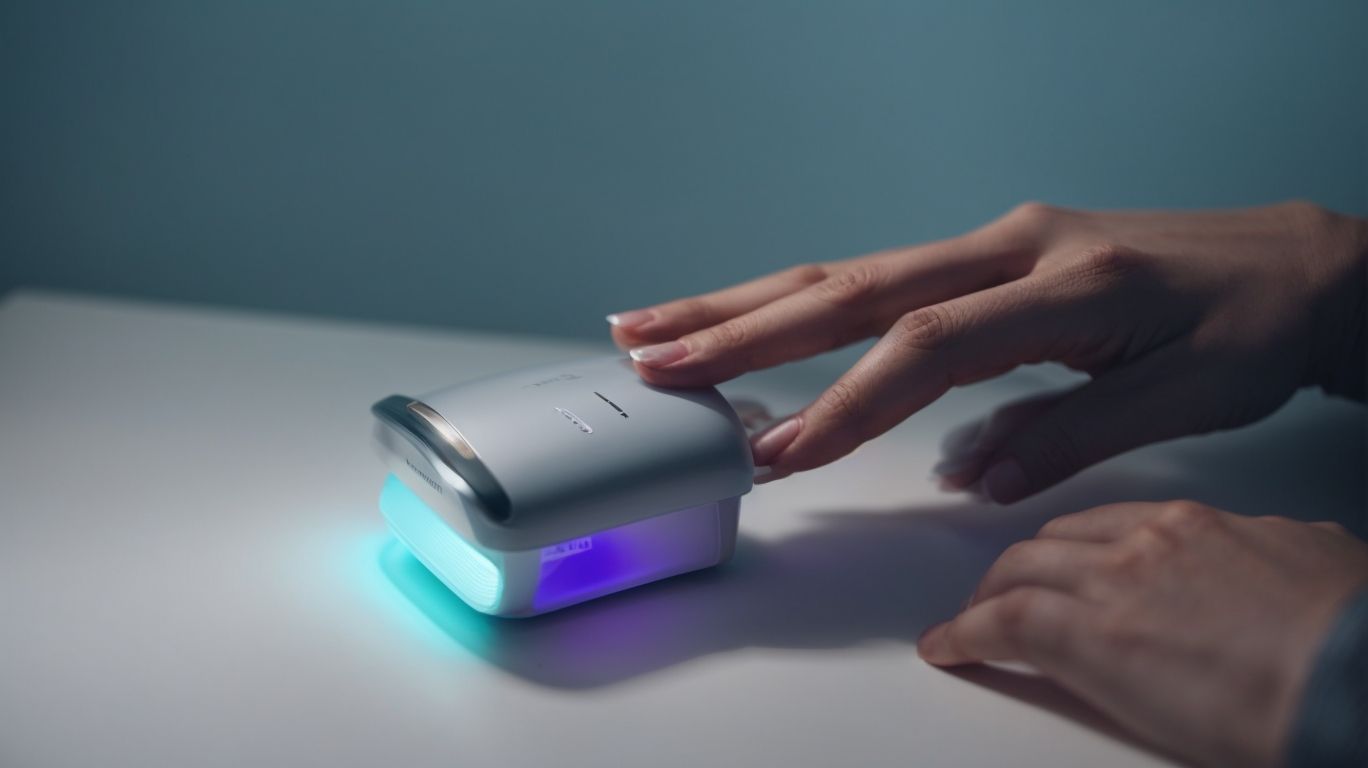
The Finishing Touch: Polishing and Nourishing
Polishing Techniques: Once you’ve shaped and prepped your nails, it’s time to apply your favourite nail polish. Use the nail drill to smooth out any ridges or uneven surfaces before applying a base coat. Apply your chosen polish in thin, even layers, allowing each coat to dry before applying the next. Finish off with a top coat for added shine and durability.
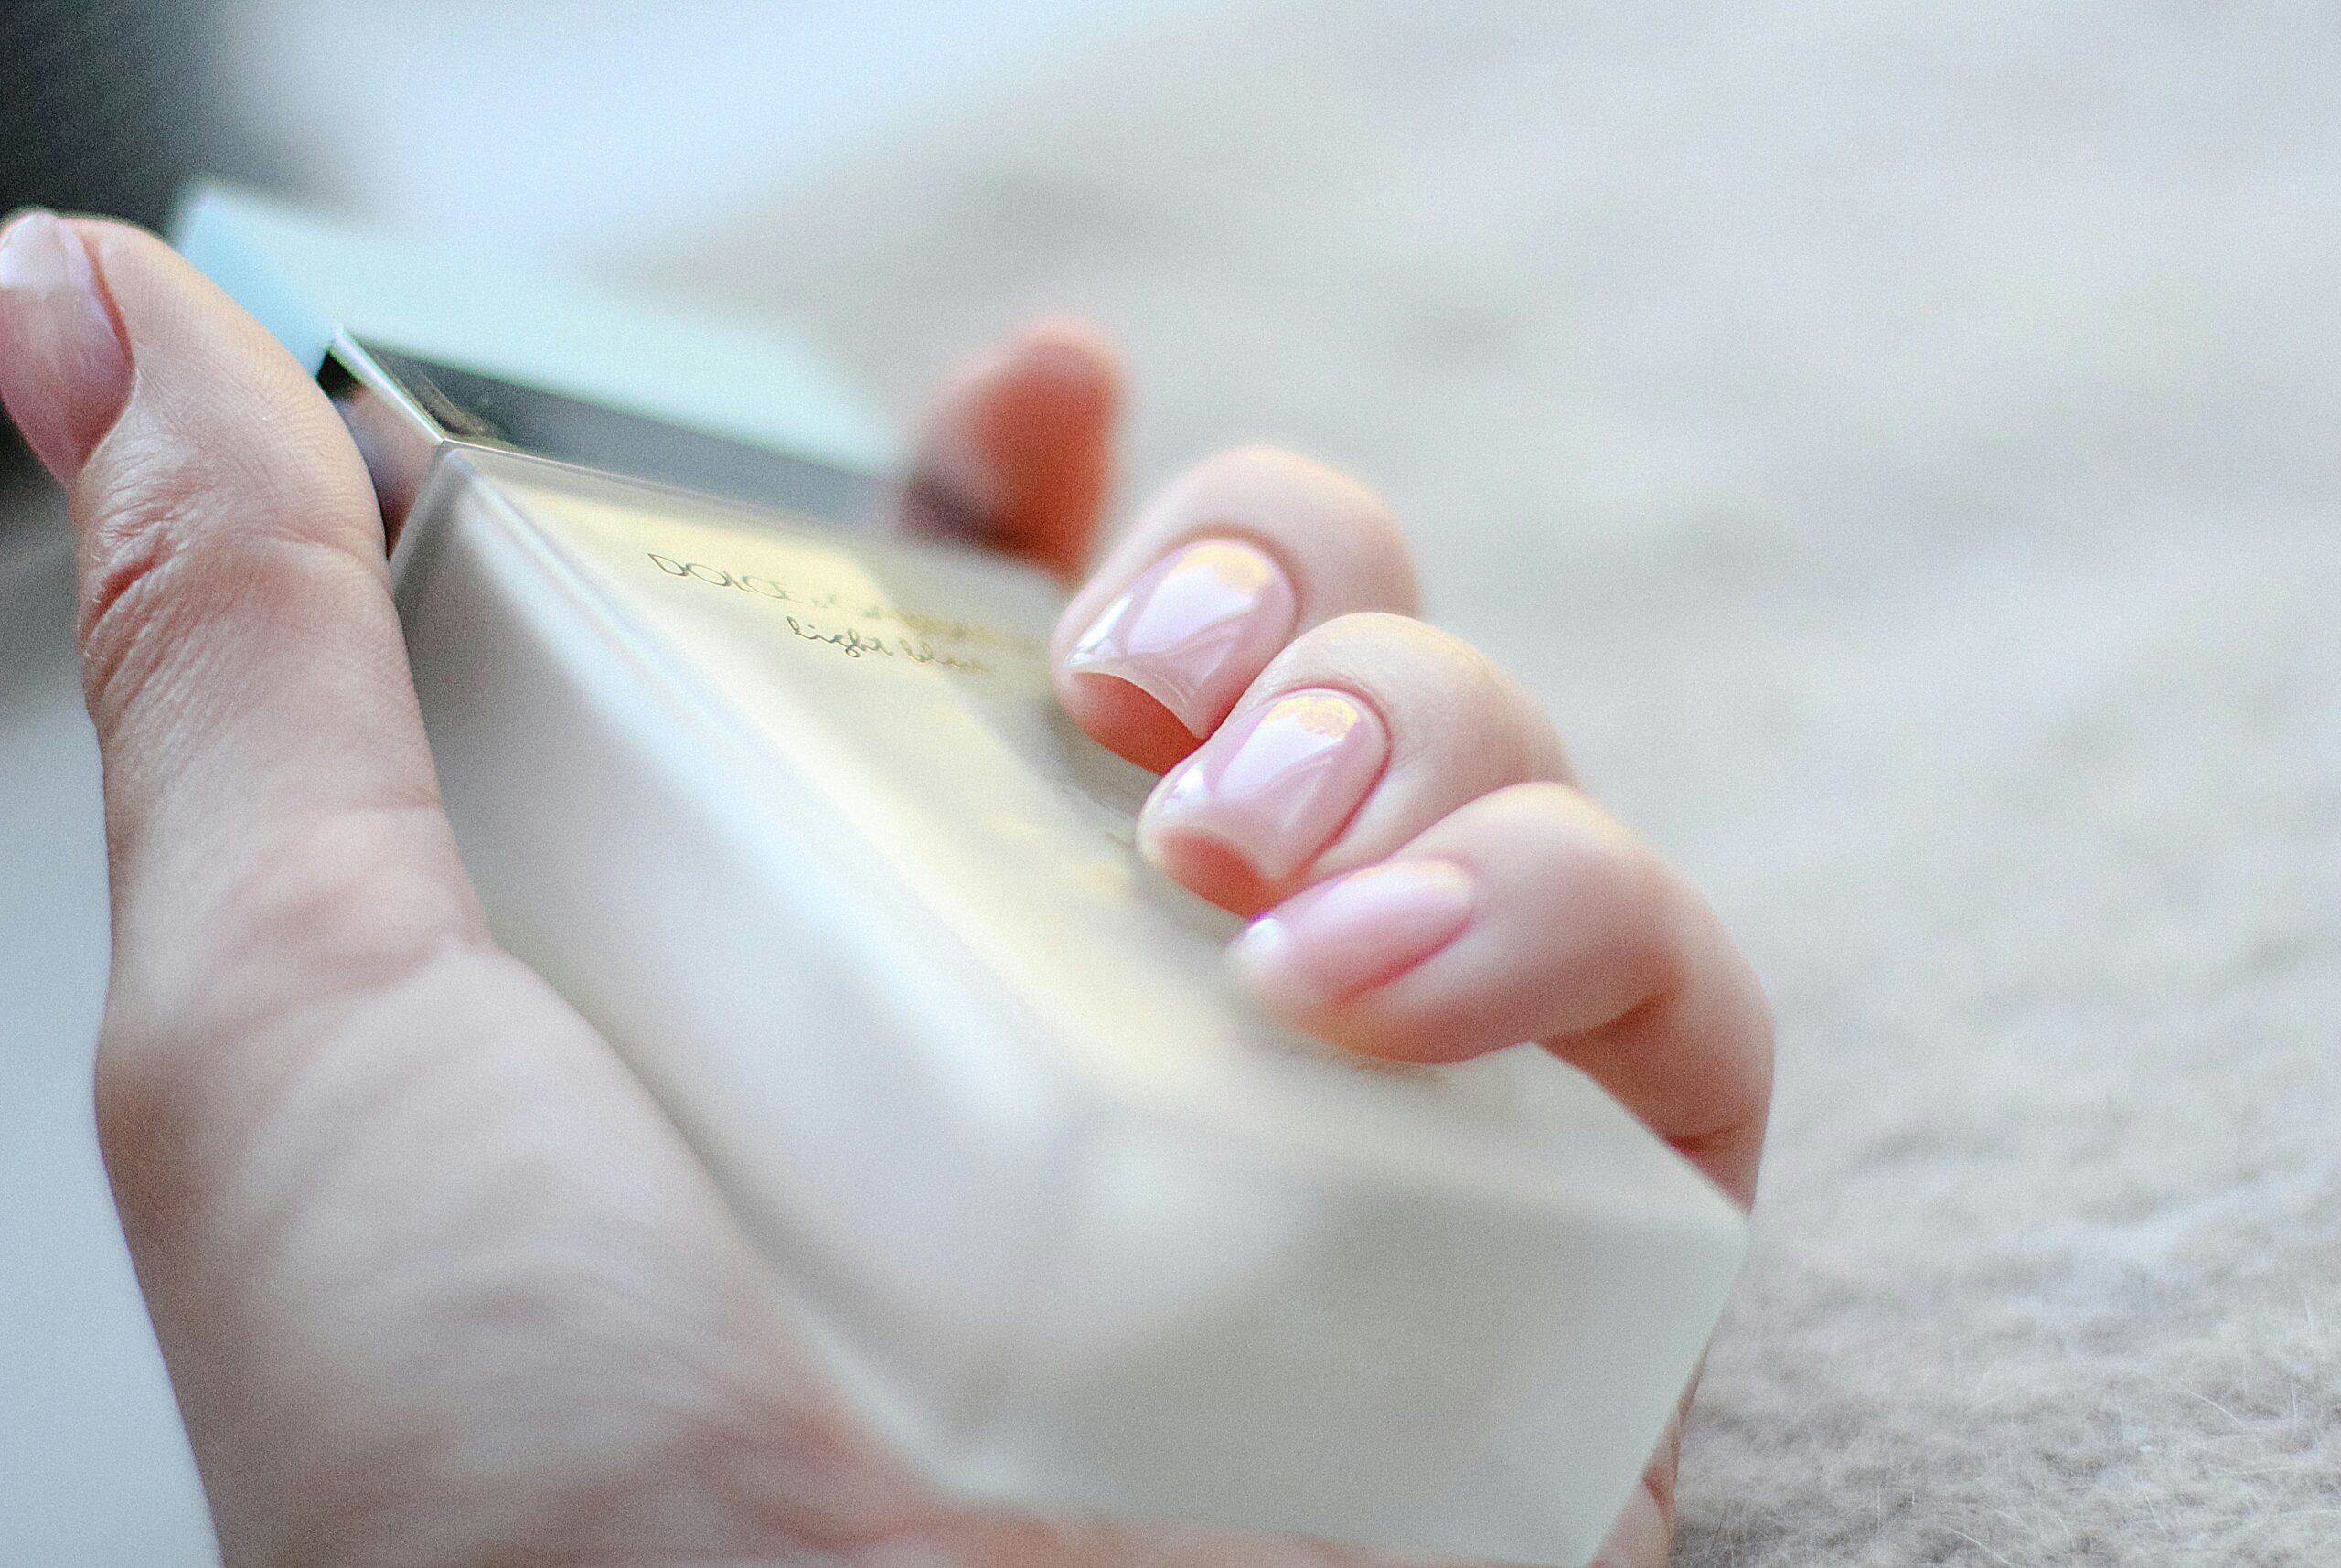
Nourishing Nail Care
Flawless nails don’t just come from a great manicure; they also require proper nourishment. After removing your polish, treat your nails to a nourishing cuticle oil or cream to keep them healthy and hydrated. Massage the product into your nails and cuticles to promote nail growth and prevent dryness.
Taking care of your nail drill is essential for its longevity and your safety. Follow these maintenance and safety tips:
-
- Clean After Every Use: After each session, clean your drill bits and remove any debris or residue. Use a soft brush or a cotton swab dipped in rubbing alcohol to sanitize the attachments. This helps prevent the build up of bacteria and ensures hygienic use.
- Store Properly: Keep your nail drill and accessories in a clean and dry storage case to protect them from dust and damage. Avoid exposing the drill to extreme temperatures or moisture, as it can affect its performance.
- Use Protective Gear: When operating the nail drill, consider wearing safety glasses and a dust mask to protect your eyes and respiratory system from any flying debris or fine dust particles. Safety first!
- Get ready to revolutionize your nail routine and unleash your inner nail artist with confidence and style!
One thought on “The Nail Drill Guide: Mastering the Perfect Manicure at Home”
Comments are closed.